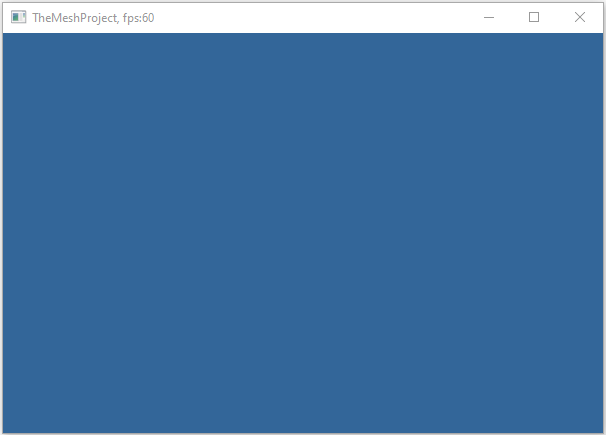
Below is a minimal example showing how to:
- initialize the platform layer
- create a window
- enter the render loop
- clean up on exit
main.cpp
#include "application.h"
#include "glew.h"
#include "timer.h"

#include "window.h"

// this allows us to call functions from the btm‑framework without prefixing
// them with the namespace
using namespace btm;

// This function can be used to render the current state of the simulation
// For example, you could clear the screen, draw objects, etc.
void render() {
    // For demonstration, we'll just clear the screen with a solid color

    // we start the rendering by calling begin_render(), which sets up the
    // OpenGL context for drawing
    begin_render();

    // Set the clear color to black and clear the color and depth buffers
    glClearColor(0.2f, 0.4f, 0.6f, 1.f);

    // clear screen and depth buffer
    glClear(GL_COLOR_BUFFER_BIT | GL_DEPTH_BUFFER_BIT);

    // we finish the rendering by calling end_render(), which swaps the buffers
    // to display the rendered frame and performs any necessary cleanup after
    // rendering
    end_render();
}

// Windows application entry point
int APIENTRY WinMain(HINSTANCE hInstance, HINSTANCE, LPTSTR, int nCmdShow) {
    // the application instance
    // we are creating a global instance of our application class, which will be
    // used throughout the program this is a GL application,
    // and we will use it to manage our OpenGL resources and state
    application the_app;

    // initialize the framework
    init_framework();

    // the application instance
    // we are creating a global instance of our application class, which will be
    // used throughout the program this is a GL application,
    // and we will use it to manage our OpenGL resources and state
    FrameWindow *pFrame = create_main_window(false, 800, 600, "Simple Rendering Window");

    // run the application main loop
    // start the timer before we enter the main loop
    start_timer();
    // call once to initialize elapsed time
    get_elapsed_time();

    // Main message loop
    // pollEvents() is a function that processes Windows messages (like keyboard
    // and mouse input, window events, etc.) and returns true as long as the
    // application should continue running
    while (pollEvents()) {
        // Idle time → render a frame
        // calculate elapsed time since last frame
        float fElapsed = (float)get_elapsed_time();
        // render the scene using the application instance's render method
        render();
        // frame counting mechanism
        {
            static int m_nFrames = 0; // frame Counter
            static float tot = 0;     // time couner
            tot += fElapsed;          // increment counter
            m_nFrames++;
            if (tot >= 1.f) // one second reached
            {
                char txt[200];
                sprintf_s(txt, "Simple Rendering Window, fps:%d", m_nFrames);
                HWND hWnd = pFrame->hWnd;
                // update the window title with the current frames per second
                // (FPS) count SetWindowText is a Windows API function that sets
                // the text of a window's title bar
                SetWindowText(hWnd, txt);
                tot = 0; // reset counters
                m_nFrames = 0;
            }
        }
    }
    // clean up application-specific resources
    the_app.terminate();
    // stop the timer
    stop_timer();

    return 0;
}